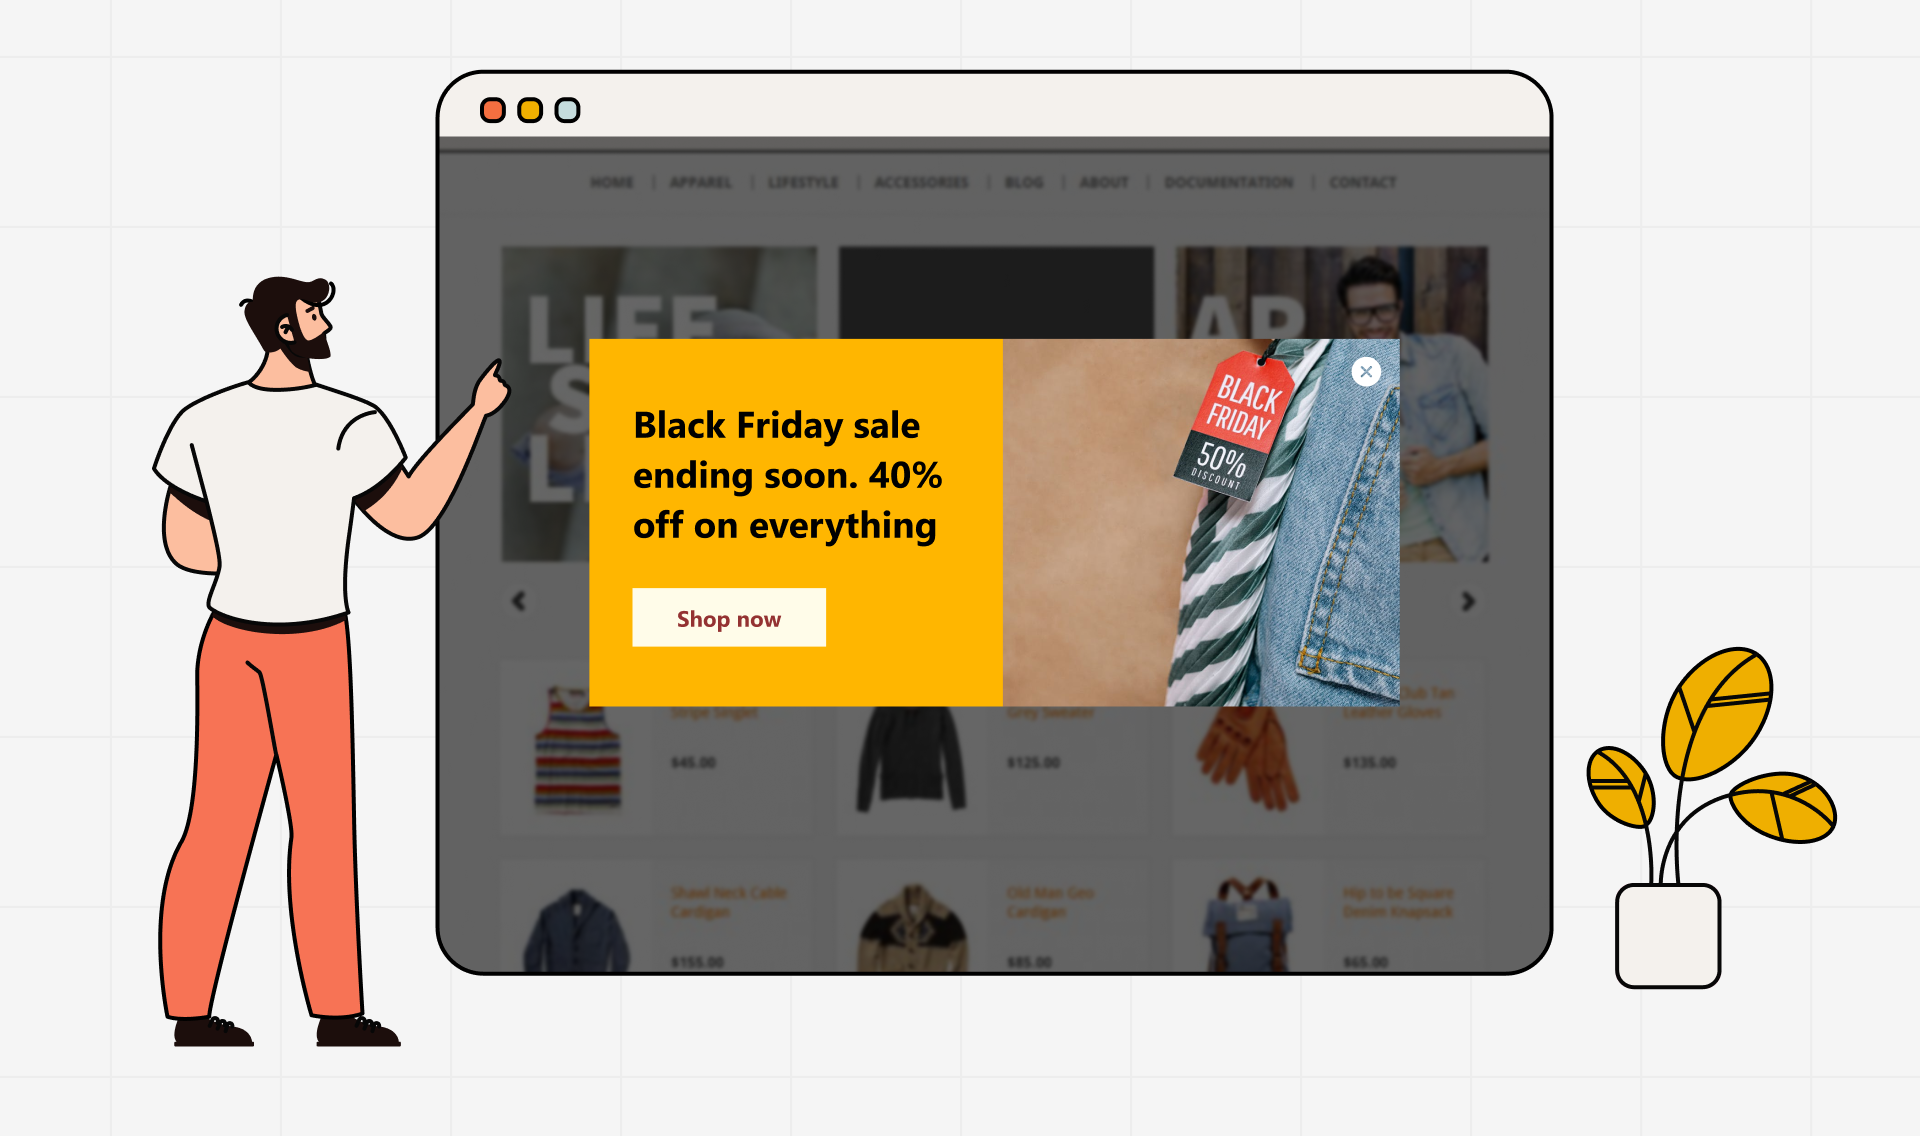
Engaging your website visitors effectively is key to success in the ecommerce business or even on your blog site. WordPress Popups are a powerful tool that can significantly enhance your click-through and subscription rates. Studies have shown that popups can boost subscription rates and deliver conversion rates for opt-in forms. When utilized properly, these forms not only improve email subscription rates but also retain viewer engagement without driving visitors away.
This article will guide you through the entire process of creating your own stylish and functional WordPress Popup using Easy Popups. From installation to execution, we’ll walk you through how to set up these pop ups to boost your subscriber list, announce special sales, or communicate vital information. Get ready to transform the way you engage with your audience and enhance visitor interaction on your site in one swoop.
Let’s get started!
Step 1: Choosing the Right Plugin
Selecting the right popup plugin for your WordPress site can be daunting given the myriad of options available. However, for those looking for an intuitive, efficient, and versatile solution, Easy Popups stands out. This plugin is renowned for its ease of use and robust functionality, making it a perfect choice for both beginners and seasoned WordPress users.

Step 2: Installing Easy Popups
To install the Easy Popups plugin, follow these simple steps:
1. Log into your WordPress dashboard.
2. Navigate to ‘Plugins’ and click on ‘Add New’.
3. In the search bar, type “Easy Popups” and press enter.
4. Find the Easy Popups plugin by Rocksolid Plugins in the search results and click ‘Install Now’.
5. Once installed, activate the plugin by clicking ‘Activate’.

Step 3: Configuring Your First Popup
After installation, it’s time to create your first popup:
1. Go to the Easy Popups menu in your WordPress dashboard.
2. Click on ‘Add New Popup’. You’ll be directed to a user-friendly interface where you can design your popup.
3. Choose the type of popup you want: simple text, image left, image right, or image top.
4. Enter the content you want to display. You can use the built-in WordPress editor to add images, texts, and links.
5. Set up the triggering options for your popup. Decide how and when the popup should appear to visitors—on page load, after a certain amount of time, on scroll, or when a visitor is about to leave your page.

Step 4: Targeting and Display Settings
Effective targeting is key to popup success:
1. In the popup settings, configure where on your site the popup should appear. You can include or exclude specific pages, posts, or even entire categories.
2. Utilize the detailed targeting rules to manage the visibility of your popups based on user behavior, such as new visitors vs. returning visitors, or users coming from specific sources.

Step 5: Preview and Adjust
One of the standout features of Easy Popups is its instant preview mode:
1. Use the instant preview feature to see how your popup looks in real-time as you make changes.
2. Adjust any design or content elements as needed to ensure the popup blends seamlessly with your site’s aesthetics and meets your goals.
[insert screenshot or asset showing the steps above]
Step 6: Going Live
Once you are satisfied with your popup’s design and settings:
1. Save your changes.
2. Set the status of your popup to ‘Active’.
3. Monitor the performance of your popup through the analytics features provided by Easy Popups to see how it impacts your website engagement and conversion rates
You can also watch the video below for the step by step guidelines on how to install and activate your pop up on your website.
Conclusion:
Mastering popups on WordPress is within easy reach with Easy Popups. This robust tool equips any WordPress site owner to enhance visitor engagement effortlessly. By following the outlined steps, you can swiftly install, configure, and manage popups that are not only aesthetically pleasing but also highly effective in meeting your business objectives. Whether you aim to increase newsletter sign-ups, promote special sales, or broadcast crucial announcements, Easy Popups ensures you can achieve these goals with ease and speed. With this guide, you are now well-equipped to create compelling and high-performing popups. To know more about Easy Popups, visit here.
